How to draw from a photo
Upload a photo of anything (your dog, your face, your shoes), and get a step-by-step tutorial with the order to draw it in. Not an outline to copy: the shapes, biggest first, the way you would actually build the drawing.
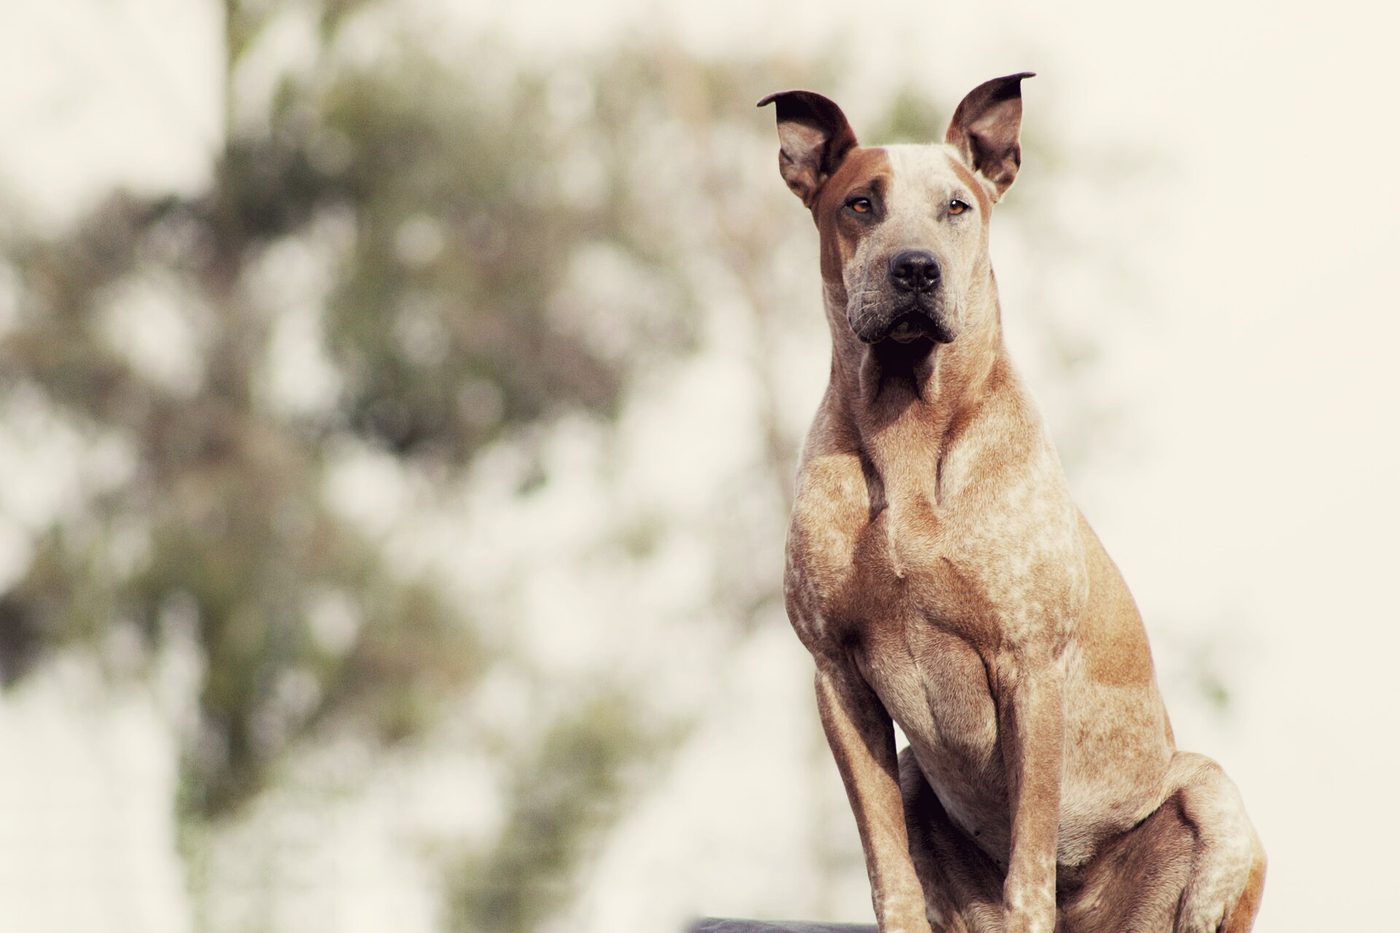 The photo
Three of the steps this photograph produced, in order. Every one of them is a shape you draw yourself: nothing here is drawn for you.
How it works
Tracing a photo gives you the finished outline, which is the one thing a beginner cannot start from. An outline is the last thing that exists in a drawing, not the first, and being handed it explains nothing about how to get there. What makes something a tutorial is the order: biggest shapes first, details last.
So we do not hand you the outline. Your photo is flattened into a small number of distinct tones, each area of tone is turned into a shape, and those shapes are sorted by size. You get them back a few at a time (a construction box first, then the big silhouette, then progressively finer shapes), which is how artists block a drawing in, and why the result is something you follow rather than something you copy.
The subject is separated from its background before any of that happens, so a photo taken in a cluttered room still produces a tutorial about the dog rather than about the sofa behind it. Where the separation is ambiguous we keep more rather than less, because a slightly generous silhouette is easier to draw around than a chewed one.
It works best on a photo with a clear subject and decent light. A flat, dark or all-texture photo genuinely has very little structure to teach from, and we would rather say so than hand you a two-step tutorial and let you conclude the tool is broken.
Why the order matters more than the outline
Squint at the thing you want to draw until the detail disappears. What is left is three or four big shapes of light and dark, and those shapes are the drawing: everything you add afterwards only refines them. If they are wrong, no amount of detail rescues it; if they are right, the drawing already reads from across the room.
This is an old idea rather than a clever one. Japanese painting has a word for it (notan, the arrangement of light and dark masses), and Western atelier training arrives at the same place from the other direction by teaching students to block in before they draw anything specific. Both traditions agree that value comes before line.
That is what this tool is doing. It is not converting your photo into a picture; it is performing the squint for you and telling you which shape to put down first. Once you can do that yourself you will not need it, and that is the intended outcome.
What makes a good photo to draw from
Draws well
- Light from one side, so there is a lit side and a shadow side
- One subject, filling a good part of the frame
- In focus, with the edges of the subject clearly visible
- Enough contrast that you can see the shapes when you squint
Struggles
- Flash from the front, which deletes every shadow at once
- Four things in the frame, which is four drawings
- Backlit shots: dramatic, and almost no interior detail
- Close-up grass, gravel, foliage or fur: texture, not structure
Light coming from one direction, clearly. Side light is best, because it produces a lit side, a shadow side and a cast shadow: three shapes to work with. Flat light from directly in front, which is what a phone flash gives you, deletes all three at once.
One subject, filling a good part of the frame, in focus. A photo of four things is four drawings, and the tool will try to teach all of them at once.
Enough contrast that you can see the shapes yourself when you squint at it. If you cannot, neither can we, and that is a reliable test to apply before uploading anything. Backlit photos are the classic failure: they look dramatic and contain almost no interior information.
Avoid anything that is mostly texture. Grass, gravel, fur photographed close up and foliage all produce hundreds of tiny shapes of the same size, which is the one thing the ordering has nothing useful to say about.
Drawing your own dog, your own face, your own shoes
This is the honest reason the tool exists. A lesson library will never contain your dog. It can teach you how dogs are built in general, and that is worth a lot, but the drawing you actually want to make is of one specific animal with one specific face.
Personal subjects are also the ones people finish. A generic tutorial competes with an evening's other options; a drawing of somebody you know does not. If you have never completed a drawing, this is a better first attempt than any subject we could pick for you.
Start with something that has an obvious silhouette: a pet, a shoe, a face in side light. Leave anything glass, shiny or in a mirror until later; reflective subjects break the assumption that a tone belongs to a surface.
The fractional method: another way to draw what you see
The tutorial above works big-to-small: whole shapes first, detail last. The fractional method is the honest opposite, and for some people it is the one that unlocks drawing: you cover the reference except for one tiny part (a single eye, one corner of a leaf, an inch of outline), draw only that, then uncover the next tiny part and draw that, until the pieces have quietly become the whole.
It works because it removes the overwhelm entirely. Nobody freezes in front of one square inch. It is also how the classical grid method worked, and it trains pure observation: each fragment is just lines and shapes, because a fragment has no name for your brain to substitute a symbol for.
To try it here: two L-shaped pieces of paper over your phone or reference make an adjustable window. Draw fragment by fragment, working outward from the first one. The trade-off is real (fractional drawings sometimes drift in overall proportion, because no step checks the whole), so use it when starting is the problem, and the construction method when accuracy is.
What happens to your photo
It stays private to you. Your tutorial lives at an unguessable link, it is never listed anywhere on the site, it is never shown to anyone else, and the page carries a noindex instruction so it does not enter a search index.
We do not train anything on your photo or on the drawing you make from it. Uploads are kept only as long as the tutorial they produced is useful to you and are deleted on request immediately.
No account is required to use it, which also means there is no profile for anything to be attached to.
After the tutorial
When you finish, the drawing can be measured the same way any other drawing here is: five technical dimensions, one thing to work on. Photo subjects tend to expose value first, because a photograph gives you the full tonal range and shows you exactly how much of it you left out.
Get the drawing measured · Value scale exercises · Shape and box drills
Rather draw something we already made?
The written lessons go deeper than a generated tutorial can, because a person decided what each step should warn you about. Use those when the subject is one we have covered, and this when it is not.
Questions about drawing from a photo
- Can you turn my photo into line art automatically?
- No, and it is a deliberate choice rather than a missing feature. What you get is a sequence of shapes to draw yourself, in order, because being handed a finished outline teaches you nothing about how to arrive at one. If a one-click picture is what you want, this is the wrong tool.
- Is drawing from a photo cheating?
- No. Working from reference is what professionals do, and drawing from a photograph is a standard exercise everywhere drawing is taught. Tracing an outline is a different activity and it is the one this tool refuses to do for you.
- What photo formats work?
- JPEG, PNG and WebP, straight off a phone. Very large files are resized automatically before anything else happens.
- How many steps do I get?
- Usually between a dozen and thirty, depending on how much distinct structure the photo actually contains. Each step is roughly the same amount of drawing rather than the same number of lines, so a simple subject genuinely has fewer steps in it: padding the count would mean inventing steps.
- Can I use a photo I found online?
- For private practice, generally yes in most jurisdictions, but the photograph is somebody's copyrighted work, so publishing or selling the resulting drawing can infringe it. Use your own photos for anything you intend to share.
- Does it work on a screenshot?
- Technically yes, though screenshots of flat interfaces contain almost no tonal structure, so the tutorial will be short. A photograph of a real object works far better.
- Can I do this on my phone?
- Yes. Tapping the upload box on a phone offers both the camera and your camera roll, so you can photograph something on the spot or use a picture you already took.
- Why did my photo produce only four steps?
- Because there were only four distinct shapes in it. Flat light, a dark photo, or a subject the same tone as its background all collapse the structure. Retake it with light coming from one side and the step count usually triples.
Was this page useful?